Home about ourhome projects services
Showing posts with label Creating. Show all posts

5.16.2012

THE END OF AN ERA

My baby has his very last day of pre-school today.  It's bittersweet for me.  
Knowing my three children will be in school all day next year makes me a tad giddy 
and leaves me feeling guilty for being giddy. 
For the past 10 years, I have had a baby, toddler, young one at my side at all times.  
I have loved every minute of it, well, okay, almost every minute of it.  
I certainly wouldn't trade that time for anything in the world.  
Life goes on and my babies are growing up at a faster rate than I would like, 
but I am embracing it excitedly looking forward to this next stage in life. 

Here is the little cutie on his very first day of pre-school back in 2009. 


And here he is on his first day of pre-school this year (doing his homework)!


He has such loving teachers at his pre-school and
we wanted to give them something special on the last day.

This is what I came up with.....


 I started with these note pad sets from the Mara-Mi collection at Target.  
I really could have used one of these myself.

I used these supplies when making the flower pins we attached to the gifts:

felt 
scissors
1/4 yard of fabric
jewelry pins
hot glue gun 


First I cut approximately 12 circles of fabric. No need to be precise, a messy circle will do just fine.


Next you fold the circle in half.
(please ignore my neglected nails)


Then you fold the circle in half again.


Next you start attaching your petals to a felt circle with hot glue.
Keep adding petals until you get the desired fullness.


Lastly, attach the jewelry pin to the back of the felt circle with hot glue.


Add the flower to your package along with a printable gift tag 
and you have yourself an adorable teacher gift. 


My son has four teachers so I made one for each of them.


My husband and I are headed to Nashville today and I didn't get to see him off this morning 
(insert tears here), but my mom and my friend snapped a few pictures and texted them to me already. 

Looks like he picked out his own clothes (and accessories)!


Here he is with is best "girl"friend!  


I hated to not be there to give him a big hug and kiss on his last day of pre-school, 
but seeing these pictures sure made my day!

I still have a week and a half before my other two get out of school for the summer.  
I had better get my act together!
How about you, are you ready for summer?

1.25.2012

PINTEREST PROJECT

I wonder if Pinterest will lose its allure someday?  
While I am still completely enthralled with the time-sucking habit of pinning, 
I thought I might as well attempt a few of those great ideas I can't seem to stop pinning.  
This one seemed easy enough.

I found tons of inspiration for chalkboard trays.


Here is my version of the chalkboard silver tray.....


Just keeping it authentic people!
I could have styled it beautifully and snapped a few pictures, 
but yesterday was one of THOSE days, need I say more.
And to make matters worse, I am not a "Coors Light" kind of girl.  
However, I made do with what I had on hand.
The two of my three children who know how to read both asked me what this message meant. 
I didn't elaborate. 


The best part about the project is that I scored the tray for a mere $1 at the thrift store. 
It is a nice heavy Oneida silver tray.  
My feelings weren't going to be hurt had it not turned out like I planned. 


You can follow me here on Pinterest.

One of my friends actually created a board titled "Pins I have Tried".  
She pinned all the projects she has attempted so far. 
Let's just say, she has been a busy girl.
Love this idea.


Pin It

12.14.2011

A PERMANENT ORNAMENT

Try saying that three times in a row quickly.  Difficult, huh?  
Anyway, I have added a new ornament to our decor and it will be a permanent one.  

Here she is......She's a beauty, isn't she?  You get my sarcasm, right?  


Here is the other side of the permanent ornament. 


Here is the story, since my husband is working from home now,
 the noise level in the house is sometimes a bit of an issue. 
His office is right off the living room, which is where the piano is.  
He is on the phone quite a bit during the day and apparently our seven year old practicing 
"Hark the Herald Angels Sing" 40 times a day on the piano is a bit distracting. 
So when the ornament is green, the kids are free to sing, dance, play 
and bounce basketballs through the house.


When my husband needs to get on a call, 
he will (or at least has been instructed by me) to flip the ornament to red.  


Hopefully this little system will work out.  


And just for the record, the working from home situation is going very well.
I thought my husband would be in my way, but I was wrong. 
I actually really enjoy getting to spend the extra time with him 
and my little one loves having both mommy and daddy all to himself five days a week.  

12.01.2011

I'M NO VAN GOGH

But, in high school, I thought I was an artist.  I have always been a creative person, but calling myself an artist might be a bit of a stretch.  I took art in high school and one semester I painted this.


Believe it or not, this painting hung in my high school cafeteria for many years.
It may or may not have had food thrown at it during it's display there. 
Nonetheless, it eventually came down and was given back to me.  
I always knew if I had a daughter, I would hang it in her room.  
Up until two days ago, it has been sitting on top of my daughter's dresser leaning up against the wall.


I was stuck at home for 2 1/2 days this week with a sick kid.
I got a little bored being cooped up and decided to hang it.
First I used the velcro command strips to adhere it to the wall.
Then, I decided to break out the chalk and create a frame. 


I started out doing it freehand and and then I went back over the lines using a level as a guide. 


My daughter was pretty surprised when she walked into her room that night. 
She asked if she was allowed to color on her walls too.  Well, of course not!


While I was at it, I went ahead and hung up one of the other paintings I did in high school. 


I hung this one in her bathroom.  


Just for the record, I copied both of these paintings from other artists. 
I think that's the difference between me and artists, I can copy, real artists create!

Changing the subject,
I just finalized a design plan for a new client and I can't wait to show you on Monday.

Hope you all have a great weekend. 

11.30.2011

CONTINUING A TRADITION

When I was growing up, my family had many great traditions.  
There was one in particular that was my favorite.  

Each year, the first Sunday of Advent, my mom would set out a little crib and a bucket of straw.
Everyone's name would go into a bowl and each Sunday at breakfast, 
we would take turns drawing a name.
You were a "secret angel" that week for the person whose name you drew.
The object of the game was to do secret good deeds for that person all week long.
Each time you do did a good deed, you placed a piece of straw into the crib.
The goal was to have the crib full of straw by Christmas morning.
  
The next Sunday at breakfast, we would go around the table 
and try to guess who we thought had our name that week. 
As a child, I remember this being the highlight of the holiday for me.
I always knew I would continue this tradition with my kids, 
but I wanted to wait until they were old enough to understand and fully participate.  
The time has finally come.

We have been talking about it for several weeks now and since we had company this past Sunday, 
I thought December 1st would be a nice starting date. 

The kids were greeted with this when they came home from school today. 
We will draw names tomorrow night at dinner.


A basket of straw (actually it's a paper bag cut into strips) 
and a card with each family member's name on it. 
The cards were free printables from here. 


My five year old was a bit confused by the whole idea and he has been asking me 
for examples of good deeds.  So I thought I would put a list together of some suggestions. 
The idea is to be sneaky and creative, but I wanted to give them a starting point.


Hopefully by Christmas morning, our crib (a wooden box) will look like this. 
We will lay baby Jesus (AKA my daughter's baby doll) in the crib when we wake up that morning.


I hope my kids enjoy this tradition as much as I did growing up. 


How about you, what are you favorite family holiday traditions? 

11.29.2011

SEW SPECIAL

Whenever my mom is in town, I always like to take advantage of her amazing sewing skills.  
Okay, "Take advantage of" sounds a bit selfish. 
What I mean is, I always beg her to teach me more about sewing.  
I had a vision in my head of a special birthday present I wanted to make for a good friend of mine.  
I knew my mom could help me make that vision a reality. 

Here is the reality.....


It seemed like such a simple project to me.  It didn't turn out to be quite as simple as I anticipated, 
but it involved fairly simple sewing skills and it took my mom and I about one hour to complete.  
I must admit, I was basically her assistant on this project.  
I did the designing, cutting and watching, she did the sewing. 


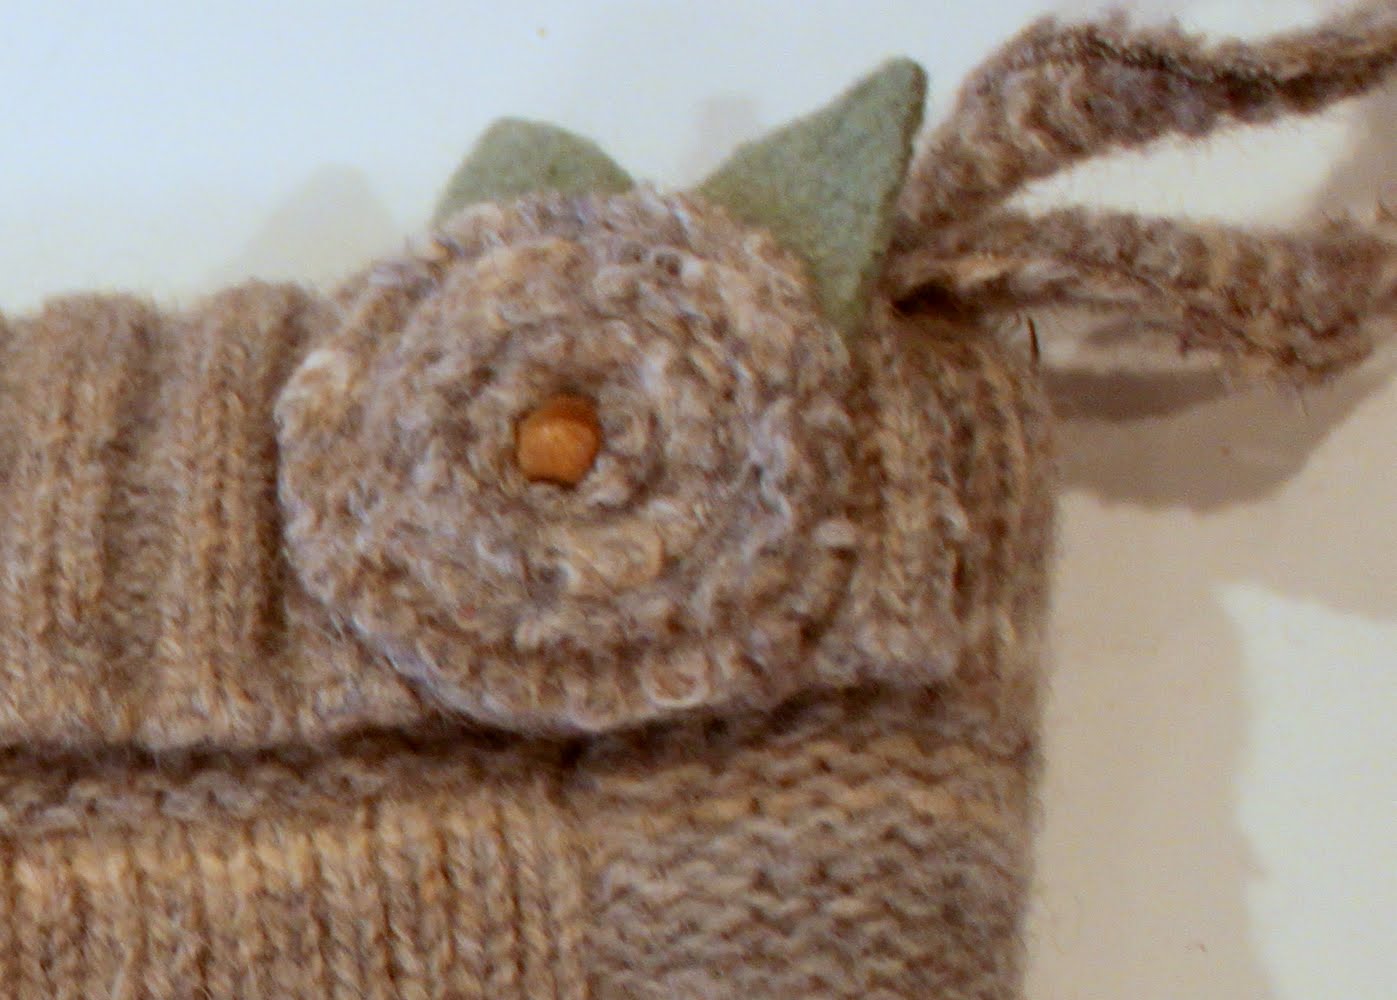
We lined it with this leftover wool fabric I had on hand. 


Look familiar?  It was also used to cover these wingback chairs.  


And I used some to make this ruffle wreath.


My friend is hard to buy for (even though she would disagree).
I knew she would appreciate a handmade gift.
I gave it to her on Monday and she loved it (or at least she said she did). ha ha. 


It took the front of a felted wool sweater to make the wristlet.
I already have the back of the sweater cut out and ready to go.
Now that I know how to make one, I think I'll give it a shot on my own.

Sharing with:

11.28.2011

HANDMADE GIFTS

I love receiving handmade gifts, almost as much as I love giving them.  I went on and on here about how anxious I was to try out some sweater projects.  A sweet friend dropped off a bag of old sweaters that she had already felted.  If you aren't familiar with the process of felting sweaters, it's very simple.  You wash a wool sweater on high heat and then dry it on high heat.  It can then be cut up without fraying.  

I decided to make a few Christmas gifts this afternoon.
Surely by now, you've picked up on the fact that I like to drink wine. 
Well, fortunately, so do my girlfriends.

Hopefully they will like these.....


If you want to tackle this extremely easy project, here's what you will need..... 

1.  A sleeve from a felted sweater;
2.  A needle and tread
3.  Scrapbook paper
4.  Circle cutting tool (mine is from Creative Memories)


I started by sewing together the end of my sweater sleeve.  
I made large stitches all the way around the sleeve. 


I then pulled it tight.


I sewed a few more stitches to make sure it was closed snugly. 


This is how it looked with the wine bottle inside.  Not real pretty, but it's just the bottom. 


Now, on to the wine glass skirts.  I think these are so handy. 
When you are entertaining, you simply use a marker to write the name of the person on the skirt. 


Here's a step by step. 


1.  Use your circle cutting tool to cut a circle, approximately 2.5" in diameter
2.  Your first circle should look like this.
3.  Use your smallest circle cutting tool to cut another circle inside the larger circle,
     approximately 1" in diameter
4.  Your circle should now look like this.
5.  Use scissors to cut a straight line trough the circle.
6.  Presto, you now have a darling wine glass skirt.

Attach them to your wine bag if you choose.


Embellish with some twine and a gift tag and you have a lovely handmade gift. 


If you don't have the right kind of circle cutting tools, 
you can print wine glass skirts from here or here and cut them free hand. 

Don't you just love receiving handmade gifts?
Blog land is full of some great ideas for unique handmade gifts. 
Are you trying your hand at any this year? 
I had my sewing machine out for a few projects this past weekend.  I'll be sure to fill you in.

Sharing with: